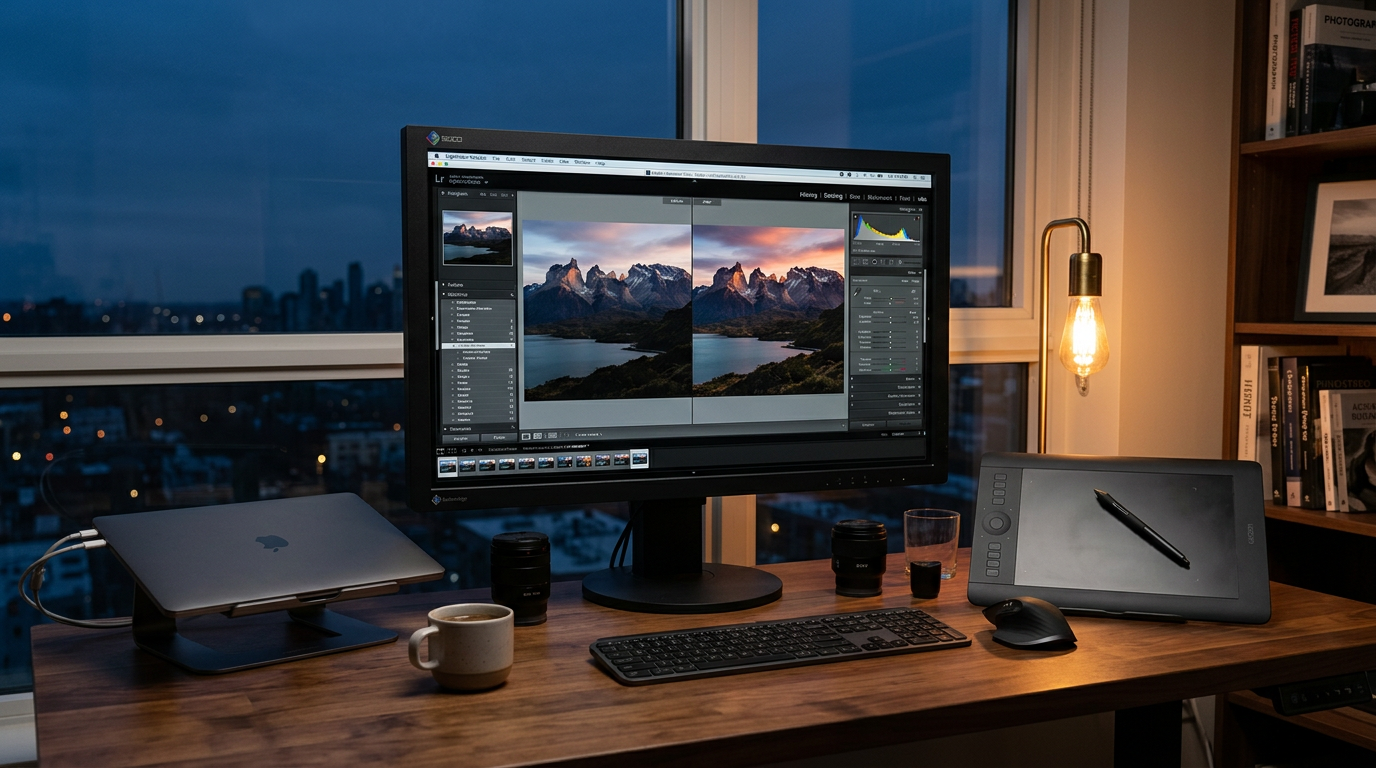
Every time you press the shutter button while shooting in RAW, your camera captures a massive amount of uncompressed, flat data. Straight out of the camera, a RAW file often looks dull, lacking contrast, saturation, and sharpness. This is completely intentional; it is a digital negative waiting for your creative vision. To transform this raw data into a compelling visual story, you need a structured, repeatable post-processing routine that preserves image quality while unlocking the full potential of your sensor.
Phase 1: Import, Culling, and Initial Preparation
Before moving any sliders, a successful workflow begins with organization. Importing your files into a non-destructive editor like Adobe Lightroom or Capture One is the first step. During import, apply a standard metadata preset that includes your copyright information and basic contact details. This ensures your intellectual property is protected from the moment the files hit your hard drive.
Once imported, the culling phase begins. Be ruthless. Use a simple rating system (such as flags or star ratings) to separate your keepers from the duplicates and out-of-focus frames. Only move images that tell a story or display technical excellence into your editing queue. Once selected, navigate to the lens corrections panel. Enabling profile corrections and removing chromatic aberrations immediately fixes optical distortion and color fringing inherent to your specific lens, giving you a clean slate to begin your creative work.
Phase 2: Global Adjustments and Tone Control
Global adjustments affect the entire image and establish the foundational mood of your photograph. The goal here is to balance the exposure and recover details in the brightest highlights and deepest shadows.
Mastering the Tone Curve and Contrast
Start by adjusting the overall exposure slider to set the midtones, then move to highlights and shadows. Check your histogram constantly to ensure you are not clipping important details. Once your basic exposure is balanced, use the tone curve to add precise contrast. A gentle S-curve on the RGB channel is a classic technique to make your image pop without crushing your dark areas or blowing out your brights.
"Post-processing is not about fixing a bad photo; it is about revealing the hidden depth, emotion, and atmosphere that the camera sensor captured but the screen failed to show immediately."
After setting your tones, refine your white balance. Correcting the temperature and tint ensures that skin tones look natural and whites remain neutral, providing a solid color foundation before you begin creative color grading.
Phase 3: Local Adjustments and Creative Polishing
With your global foundation set, it is time to guide your viewer's eye through the frame using targeted adjustments. This is where your image transforms from a standard photograph into an expressive piece of art.
Modern editing applications offer incredibly powerful AI-powered masking tools. Use linear gradients to subtly darken bright skies, or radial gradients to add a gentle glow to your main subject. Dodging (brightening) and burning (darkening) specific areas of your image adds physical dimension and depth. For a deep dive into color theory and advanced color manipulation, check out the color grading guides on Fstoppers to learn how complementary color schemes can evoke specific emotions in your viewers.
The Essential Five-Step Editing Checklist
To ensure consistency across every single photo you process, integrate this checklist into your final review stage:
- Verify the Histogram: Ensure no highlights are clipped to pure white and no shadows are crushed to pure black unless creatively intended.
- Check for Sensor Dust: Zoom in to 100% and use the spot removal tool to clean up distracting sensor spots, especially in clear skies.
- Apply Targeted Sharpening: Hold down the Option/Alt key while adjusting the masking slider in your sharpening panel to apply sharpness only to defined edges, leaving flat areas like noise-free skies untouched.
- Review Crop and Alignment: Straighten horizons and crop out distracting elements along the extreme edges of your frame.
- Step Away and Return: Close your eyes or look away from the monitor for two minutes to reset your eyes before exporting; this prevents over-editing.
Exporting for Different Platforms
The final step of your post-processing workflow is exporting. A common mistake is using a single export preset for every destination. For print, you will want high-resolution files in the AdobeRGB or ProPhoto RGB color space to preserve the widest range of colors. However, for web and social media, you must convert the color space to sRGB and resize the image to prevent platforms from applying aggressive, quality-destroying compression algorithms. For detailed technical discussions on color management, visit Photography Life or explore the extensive tutorials on Digital Photography School.
Once your images are polished, optimized, and exported, they are ready to be shared with the world. If you are looking for constructive feedback, community inspiration, and a place to test your newly refined editing skills against peers, consider entering your best work into curated photography competitions. It is one of the fastest ways to grow as an artist and get your work noticed by industry professionals.
Ready to showcase your masterpieces? Join the global community at Framez today, share your beautifully processed images, and enter our latest challenges to elevate your photographic journey!
Try this in Framez — enter a photography competition and put "Post-processing workflow: from RAW to finished image" into practice.
Framez is the photography competition app — share your work, climb the leaderboard, and learn from the community.


