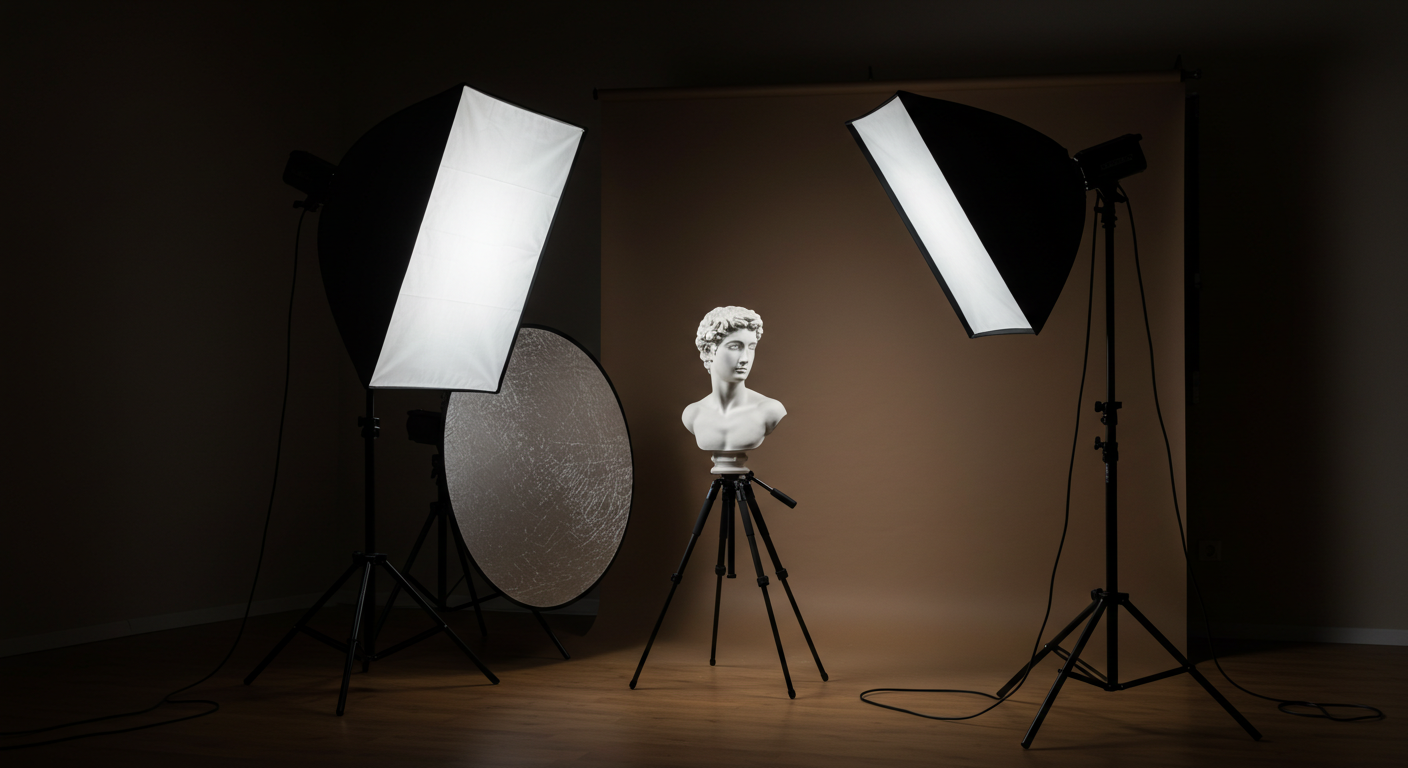
Transforming a spare bedroom, a garage, or even a corner of your living room into a functional portrait space is one of the most rewarding milestones for a photographer. You do not need a commercial warehouse or tens of thousands of dollars in high-end strobes to create breathtaking, magazine-quality portraits. By understanding how light behaves and mastering a few classic physical configurations, you can achieve world-class results with minimal gear. In this guide, we will break down the absolute best portrait photography lighting setups for home studios, helping you maximize small spaces and modest budgets.
The Foundations of Home Studio Lighting
Before positioning your lights, it is vital to understand the constraints and advantages of a home environment. Unlike commercial spaces with soaring ceilings and matte black walls, home studios typically feature low ceilings and highly reflective white or neutral walls. This means light will bounce off your surroundings, acting as natural fill light whether you want it to or not.
To control this ambient spill, light modifiers are your best friends. Large softboxes, strip boxes with grids, and collapsible reflectors allow you to direct light precisely where you want it, keeping the rest of your frame dark and dramatic. When selecting your primary light source (the "key light"), you can choose between portable speedlights, continuous LED panels, or dedicated studio monolights. For beginners, modern high-output LEDs are highly recommended because they offer "what you see is what you get" real-time visualization.
4 Classic Lighting Setups for Small Spaces
You can achieve an infinite variety of moods using just one or two lights. These four classic setups are easy to replicate in tight quarters and serve as the backbone of professional portraiture.
1. Rembrandt Lighting (The Drama Maker)
Named after the Dutch Master painter, Rembrandt lighting is characterized by a small, inverted triangle of light on the shadowed cheek of your subject. It is highly dramatic, moody, and excellent for adding depth and character to masculine portraits or fine-art headshots.
To set this up, place your key light at a 45-degree angle to the side of your subject, and slightly above their head height, pointing down at roughly a 45-degree angle. The shadow of the nose should meet the shadow of the cheek, leaving that signature patch of light under the eye. For technical step-by-step tips on perfecting this angle, you can read the comprehensive breakdown on Digital Photography School.
2. Clamshell Lighting (The Beauty Standard)
Clamshell lighting is the go-to configuration for beauty, fashion, and clean corporate headshots. It minimizes skin texture, softens wrinkles, and creates beautiful, glowing catchlights in the subject's eyes.
This setup uses two light sources (or one light and a reflector) placed directly in front of the subject. Position your main softbox directly in front of and above your subject, angled down at 45 degrees. Directly beneath their chin, place a silver or white reflector angled upward to bounce light back up into the shadows under the chin and nose. The two light sources mimic an open clamshell, wrapping your subject in flawless, soft illumination.
3. Loop Lighting (The Versatile Classic)
Loop lighting is perhaps the most common portrait setup because it flatteringly suits almost every face shape. It creates a small, downward-looping shadow from the nose onto the cheek, without fully closing the shadow like Rembrandt lighting does.
To achieve loop lighting, place your key light slightly to one side of the camera (about 30 to 45 degrees) and just above eye level. This subtle offset keeps the lighting dimensional while maintaining a bright, open, and friendly appearance perfect for family portraits.
4. Split Lighting (The High-Contrast Split)
If you want to emphasize texture, drama, or mystery, split lighting is the ultimate tool. It divides the face exactly in half, with one side brightly illuminated and the other cast in deep shadow.
Place your key light at a 90-degree angle directly to the side of your subject, level with their face. To keep the shadow side completely dark, use black foam boards (known as V-flats) on the opposite side to absorb any bouncing light. For advanced modifiers and grids to keep this light extremely narrow, check out the product guides on B&H Explora.
"Light does not merely illuminate a subject; it defines their story. The transition between light and shadow is where the photographer writes their narrative."
Essential Tips for Managing a Home Studio
Working in limited square footage requires a strategic approach. Here is a checklist of practical tips to ensure your home shoots run smoothly:
- Manage your distance: Keep your subject at least 3 to 4 feet away from the background to prevent unwanted shadows from falling behind them.
- Control spill with grids: Fabric honeycombed grids on your softboxes keep light from scattering onto your home walls, maintaining rich blacks.
- Use white sheets as flags: If you don't have professional reflectors, white bedsheets can bounce light, while black sheets can block it (known as negative fill).
- Mind the catchlights: Always ensure your key light is positioned to reflect in the upper half of your subject's pupils, which brings the eyes to life.
For more detailed gear reviews and recommendations on the best compact strobes for home spaces, head over to the equipment test labs at DPReview.
Take Your Portraits to the Next Level
Mastering these lighting setups is your ticket to creating professional, artistic portraits right in your living room. Once you have dialed in your lighting and captured those stunning shots, don't let them sit on your hard drive. Share your creations, get feedback from a global community of creators, and put your skills to the test by entering the ongoing Framez competitions. Joining these challenges is the perfect way to refine your craft, gain exposure, and connect with fellow photography enthusiasts. Grab your lights, set up your studio, and start shooting today!


